Sebo Airbelt K Manuel du propriétaire
Naviguer en ligne ou télécharger Manuel du propriétaire pour Aspirateurs Sebo Airbelt K. Sebo Airbelt K Owner`s manual Manuel d'utilisatio
- Page / 16
- Table des matières
- MARQUE LIVRES
- OWNER’S MANUAL 1
- TECHNICAL DETAILS 2
- HOW TO CONTACT SEBO 2
- TABLE OF CONTENTS 2
- IMPORTANT SAFETY INSTRUCTIONS 3
- AIRBELT K2 4
- AIRBELT K3 5
- SEBO’s FILTRATION SYSTEM: 6
- IDENTIFICATION OF PARTS 7
- ASSEMBLY 7
- Starting The Machine 9
- Figures 1, 2, 8, 9 & 10 9
- Operating The Machine 9
- - Figure 10 9
- Parquet brush - Figure 13 10
- Kombi - Figure 14 10
- Turbo Nozzle - Figure 15 10
- VACUUM MAINTENANCE 11
- CLOG REMOVAL 12
- TROUBLE-SHOOTING GUIDE 13
- Canister with Handle/Hose 14
Résumé du contenu
OWNER’S MANUALFor Household Use Only
10To remove a brush or power head, switch off the power and unplug the vacuum. Then,press the tool release button (7) and pull the tube out.NOTE! K3 u
11VACUUM MAINTENANCEChanging the Filter Bag - Figure 16To change the filter bag (45), set the canister upright (as shown in figure 13),press the cover
CLOG REMOVAL12NOTE! K3 users with ET-1 power heads, please refer to your power head user’smanual for more detailed instructions for removing clogs in
TROUBLE-SHOOTING GUIDE13PROBLEMDoes not turn onBag full or clog light onBag full or clog light on& machine shuts offDoes not pick upFilter bag doo
14AIRBELT K2 SCHEMATIC AND PARTS LIST12345678910111213141617212224252627282930313233343435363839404142434445466754GS6675GS60146042WS6681HG6696AM6756GS
15AIRBELT K3 SCHEMATIC AND PARTS LIST12345678910111213141617212224252627282930313233343637383940414243446754GS6677GS60146042WS6681HG6696AM6756GS6607GS
16
Technical Details 2How To Contact SEBO 2Important Safety Instructions 3Special AIRBELT K Product Features 4AIRBELT K2 Features 4AIRBELT K3 Features 5O
IMPORTANT SAFETY INSTRUCTIONSREAD ALL INSTRUCTIONS BEFORE USING THIS MACHINE31. Do not leave vacuum while plugged in. Unplug fromoutlet when not in us
SEBO AIRBELT K PRODUCT FEATURES4Bag Full or Clog Light & Auto Shut Off – Awarning light will illuminate and themachine will automatically shut off
5Designed for All Floor Surfaces. AIRBELT K3:The AIRBELT K3 has an electrified hose andtelescopic tube designed to accommodatethe ET-1 power head. The
6STANDARD FEATURES OF ALL SEBO VACUUMSDesigned and Manufactured in Germany – Legendary quality,reliability and performance make SEBO vacuums the choic
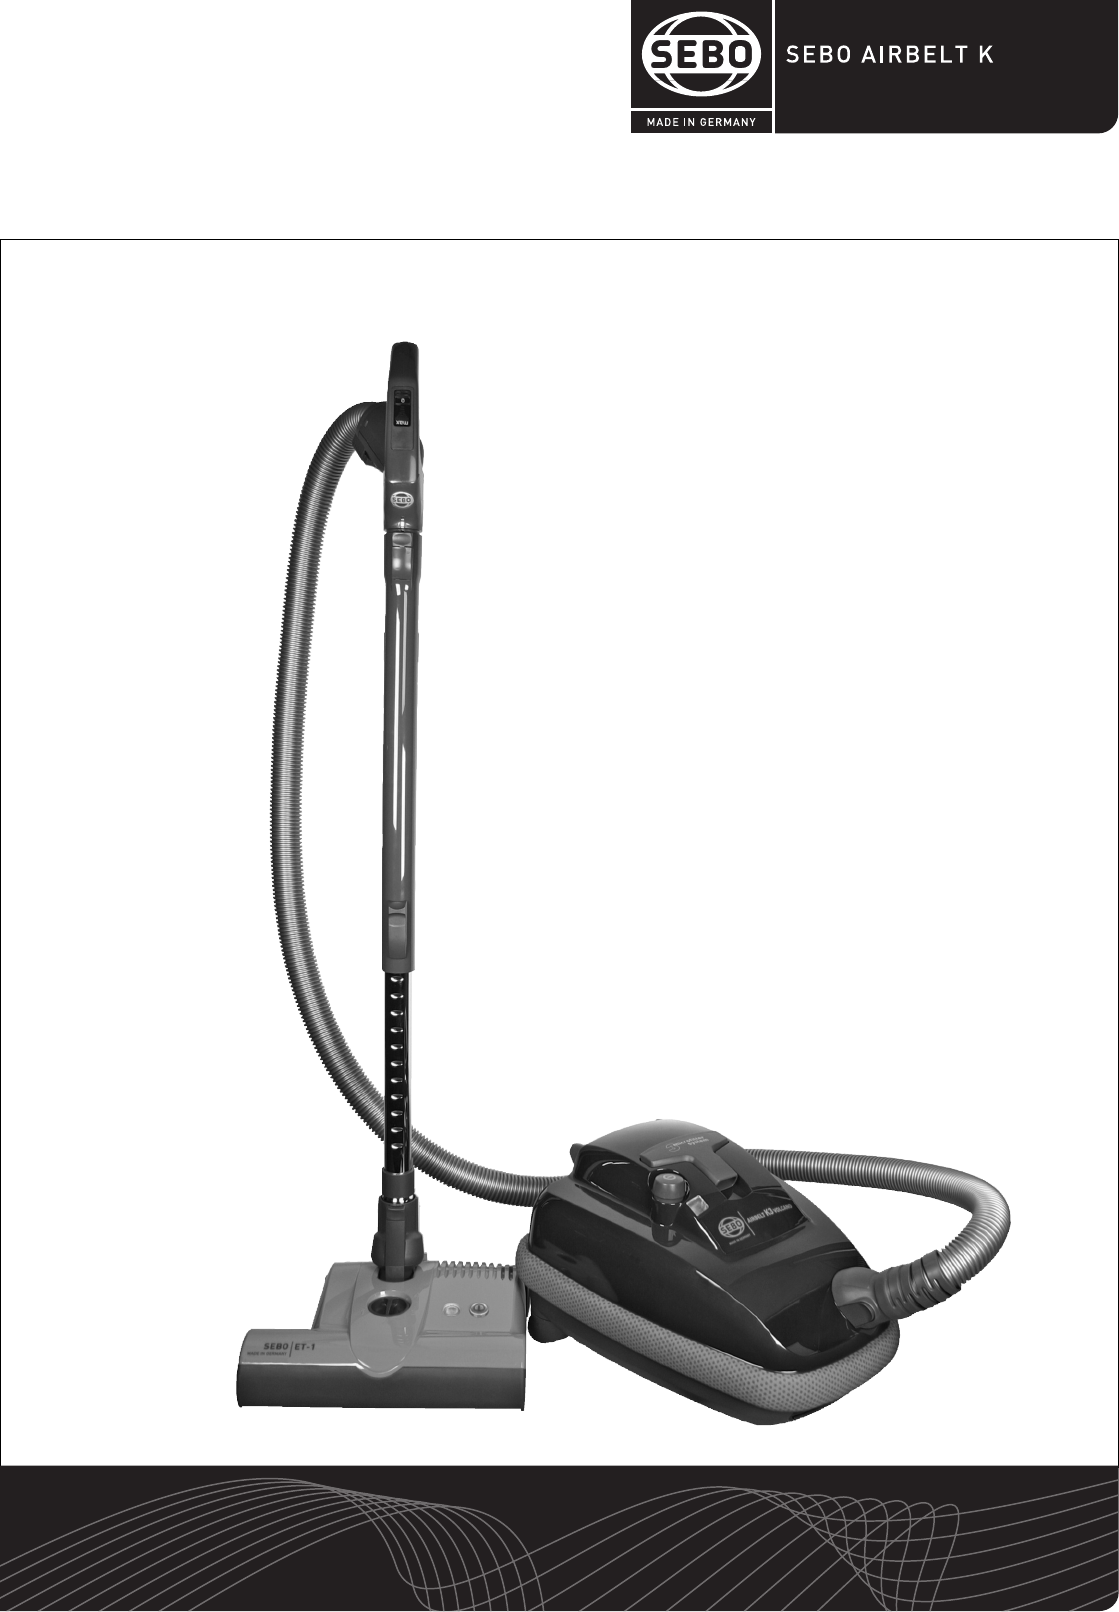
7IDENTIFICATION OF PARTS14. Exhaust filter cover15. AIRBELT shock absorber16. Carrying handle17. Suction opening18. Hose release button (K3 only)19. H
8OPERATING INSTRUCTIONS ALL K VACUUMSStarting The Machine- Figures 1, 2 & 3Before turning on your canister, make sure that you have a firm hold on
9Starting The Machineand Suction Control -Figures 1, 2, 8, 9 & 10Before turning on your canister, make sure that the vacuum handle is in its uprig
Plus de documents pour Aspirateurs Sebo Airbelt K

Produits connexes et manuels pour Aspirateurs Sebo Airbelt K
 (11 pages)
(14 pages)
(11 pages)
(14 pages)
 (14 pages)
© 2020, manymanuals.fr. Tous droits réservés | 1.206 s |
 Manymanuals.com
 Manymanuals.de
 Manymanuals.fr
 Manymanuals.it
 Manymanuals.pl
 Manymanuals.cz
 Manymanuals.es
 Manymanuals-pt.com
Commentaires sur ces manuels